| Using - TMPGEnc XPress - Manual (v3.0 +) |
|
In the Latest version of TMPGEnc there has been many new features
added to ease up the usage for Newbie's, One of the new ones is to have
a direct access to your DVD Movie and a very enhanced yet simple to use
both Manual and Wizard modes. This part of the guide will cover the new
Manual mode.
NOTE: It does NOT support copying of Protected DVD movies, you need to use a ripping program using "Backup/Full" method first.
|
|
|
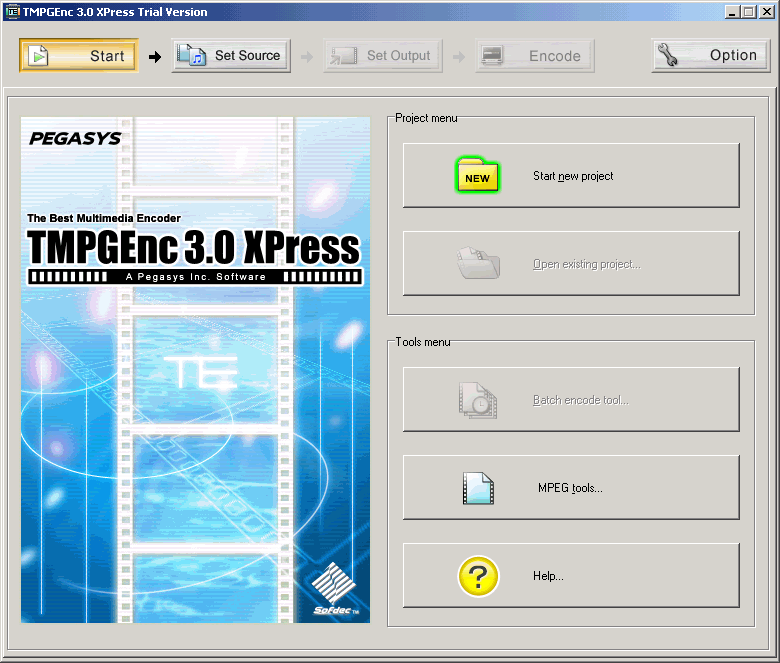
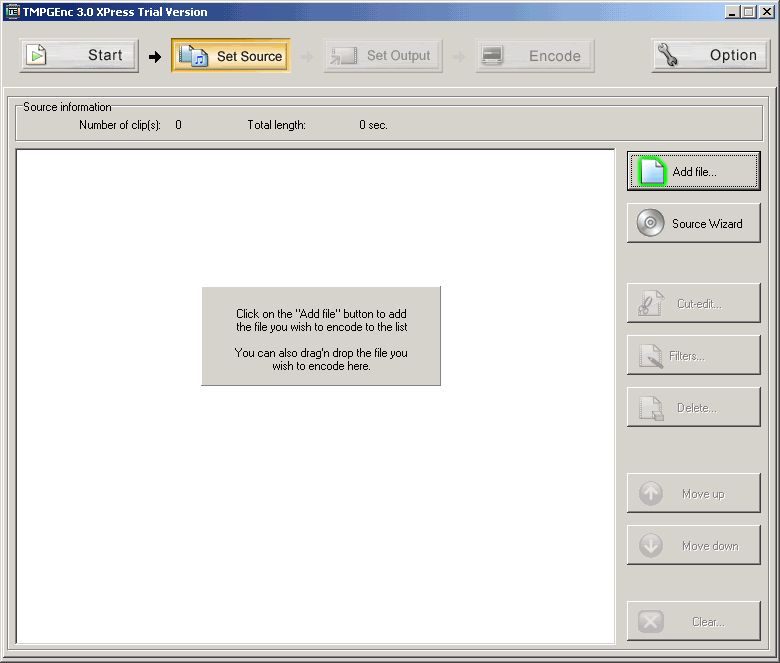
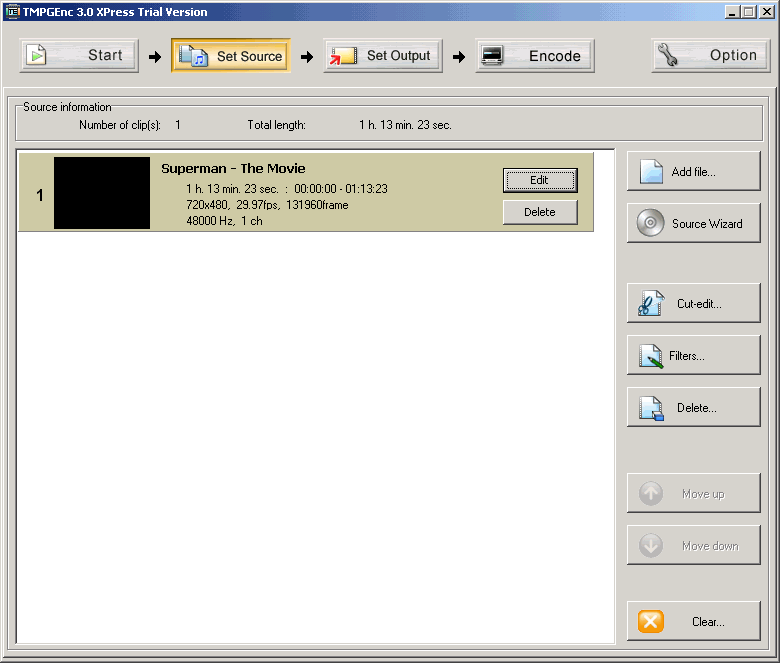
Step
1(a/b/c) - Click on "Start new project" or "Set Source" then click on "Add file" and now you can import from a supported file format.
|
|
|
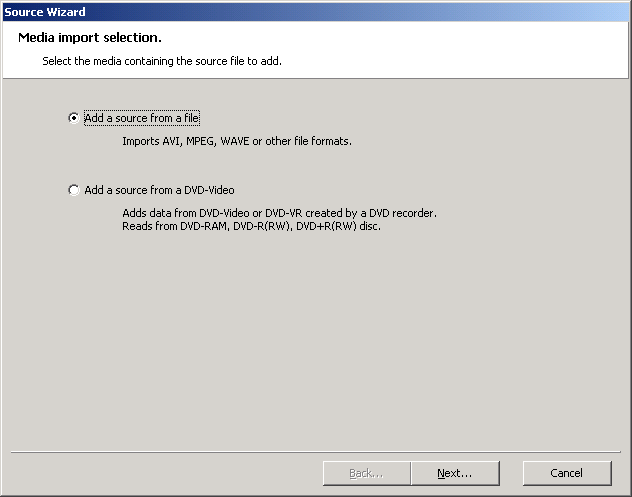
(Optional) Step 2 - If you Click on the "Source Wizard" instead of "Add file" you can use the "Add a source from a file" to get the same options and proceed as normal. If you did use the "Add file" then simply continue to the next step.
|
|
|
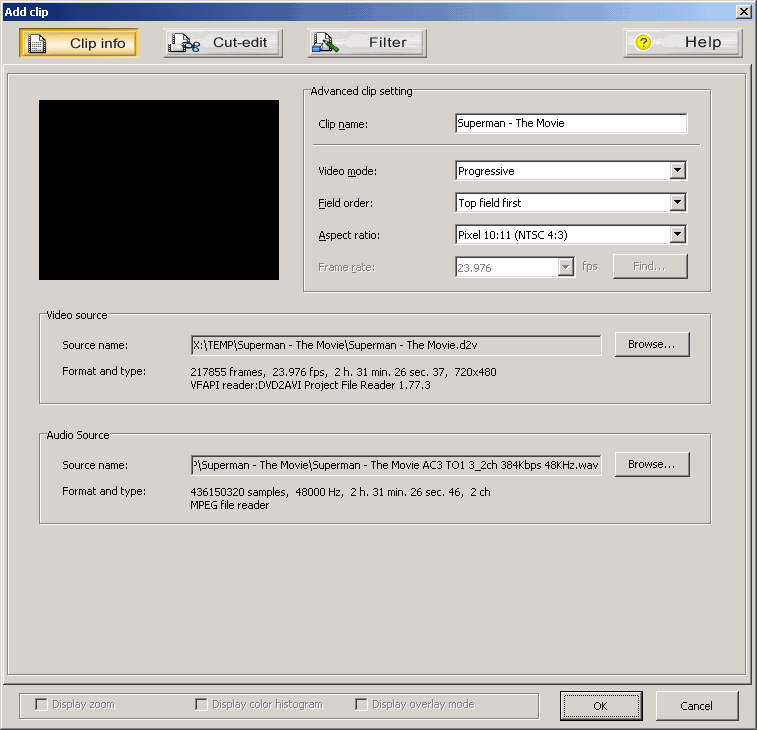
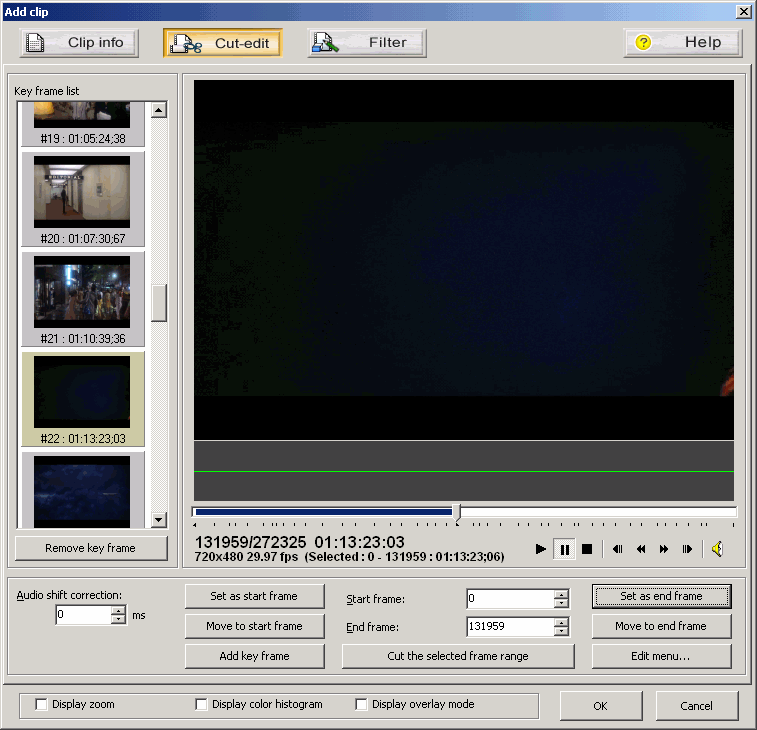
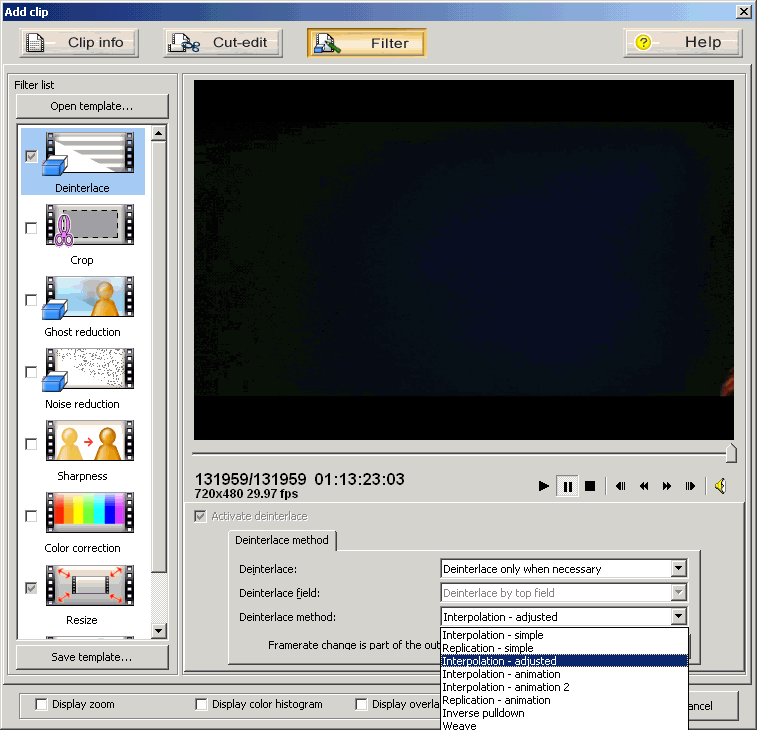
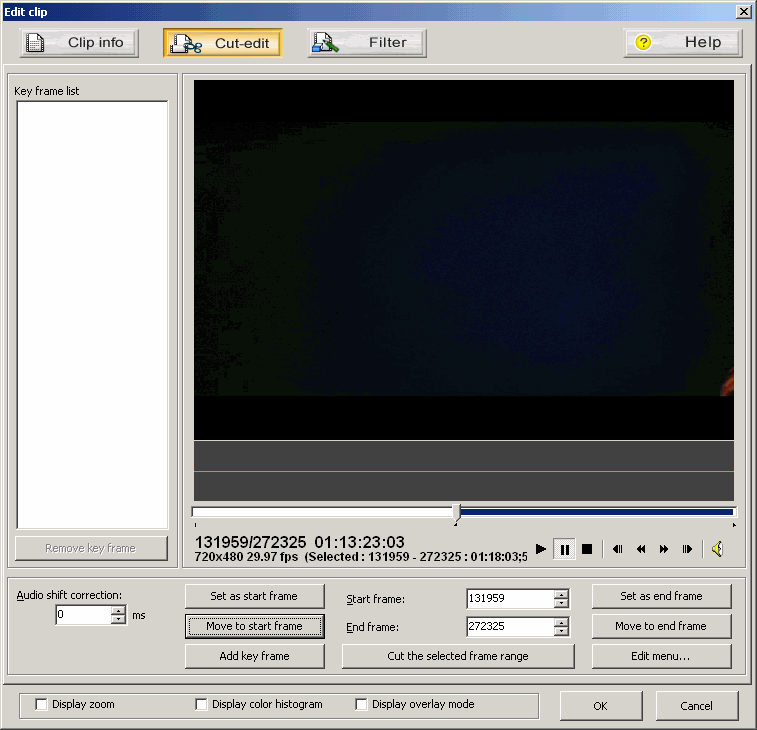
Step
3(a/b/c) - If you used a "D2V" project file, then use the "Audio source" to select your "WAV" file. Now you can set the "Aspect ratio" under the "Clip info" tab. Then under the "Cut-edit" you can select the "Start Frame" and "End Frame" if you want to encode just a section of your movie. You can use the "Key frame list" to navigate through the clip and set the markers according to the original DVD chapters. Under the "Filter" tab you can enhance your movie quality.
|
|
|
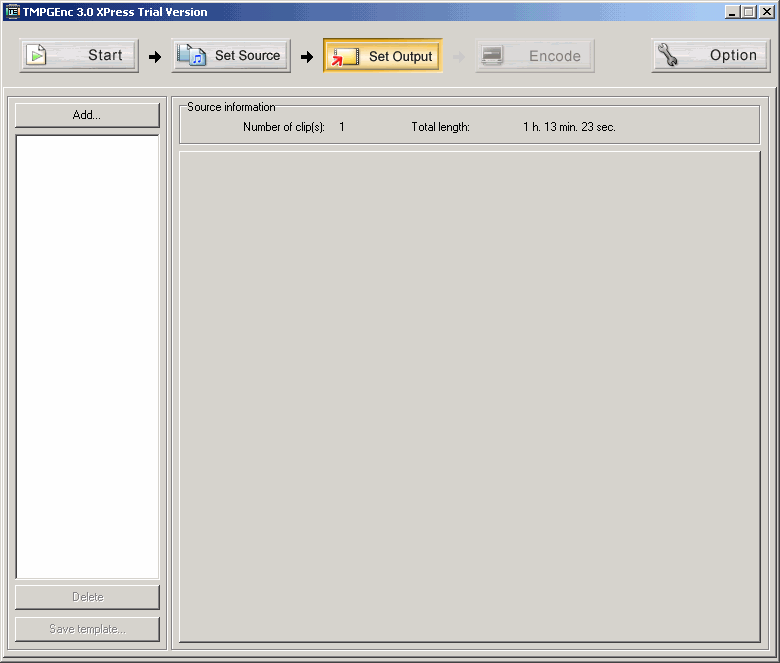
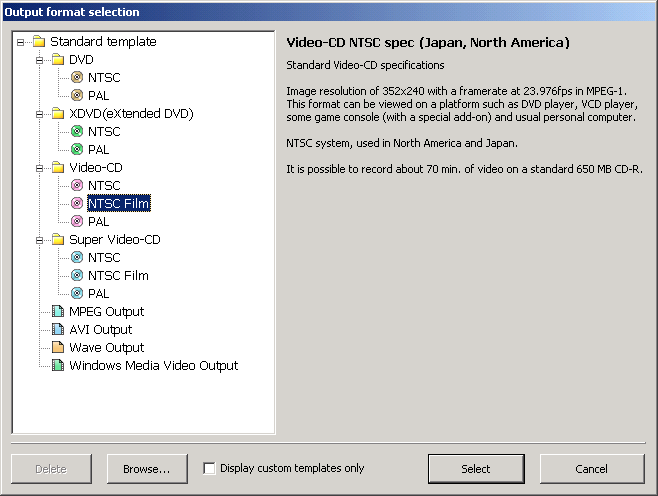
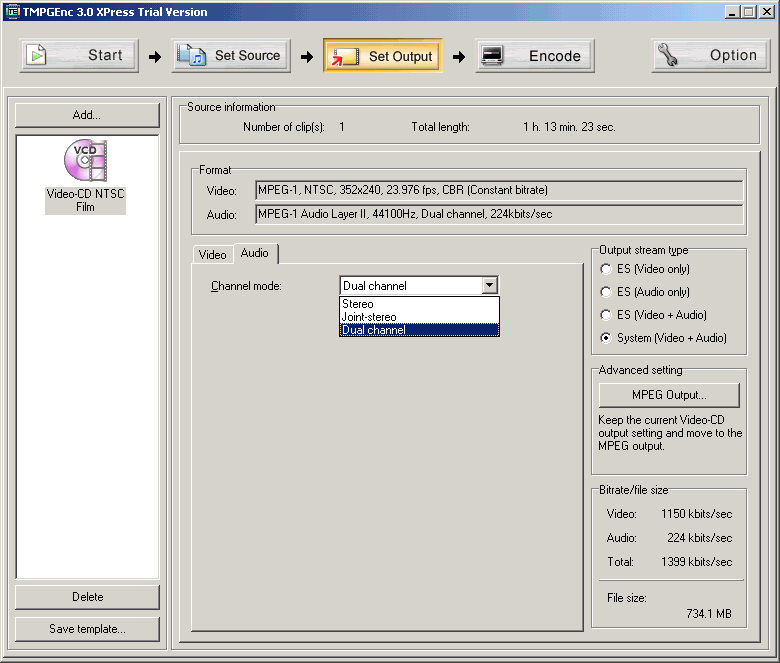
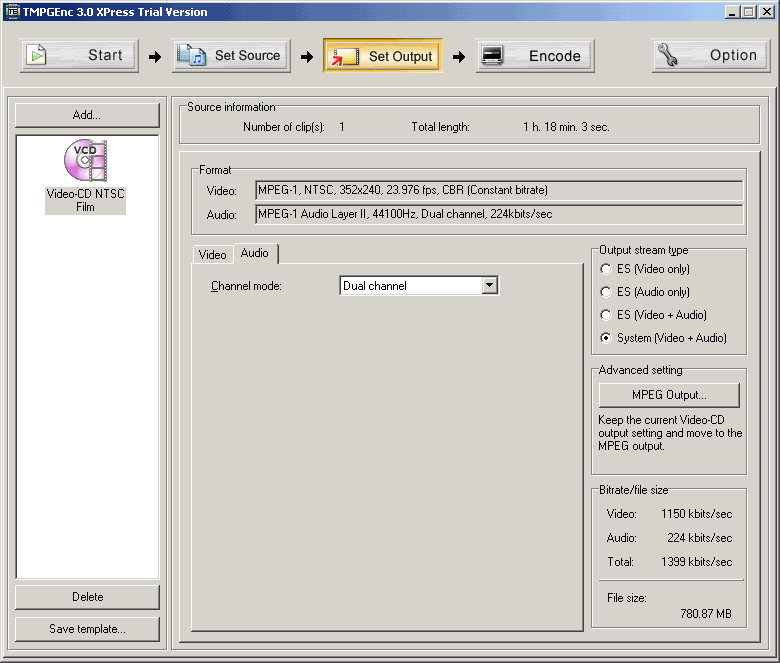
Step
4(a/b/c/d) - Click on the "Set Output" to select the type of Encoding you would like to do and click on "Select" to continue. Under then "Video" tab you can choose the "Motion search precision" quality you want (the higher quality, the slower to encode!). Under the "Audio" tab you can select "Channel mode" for the audio.

|
|
|
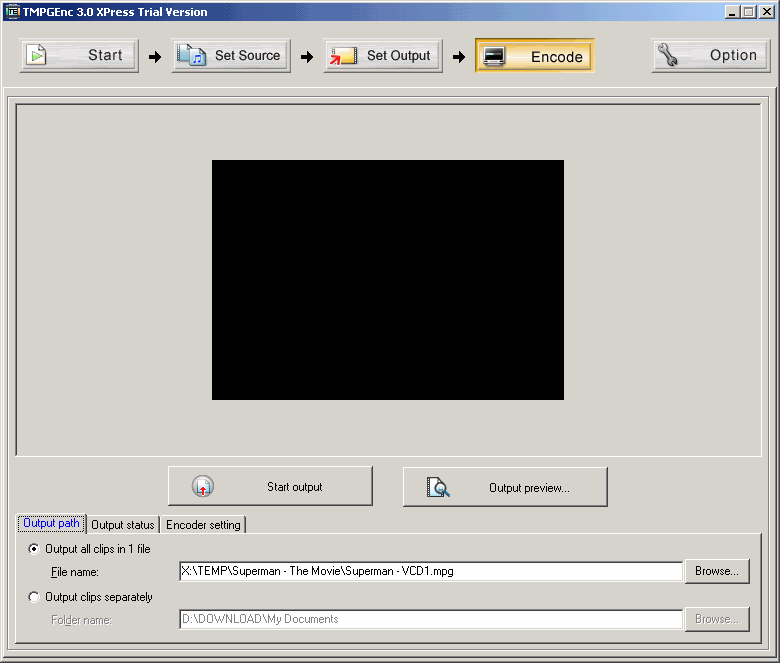
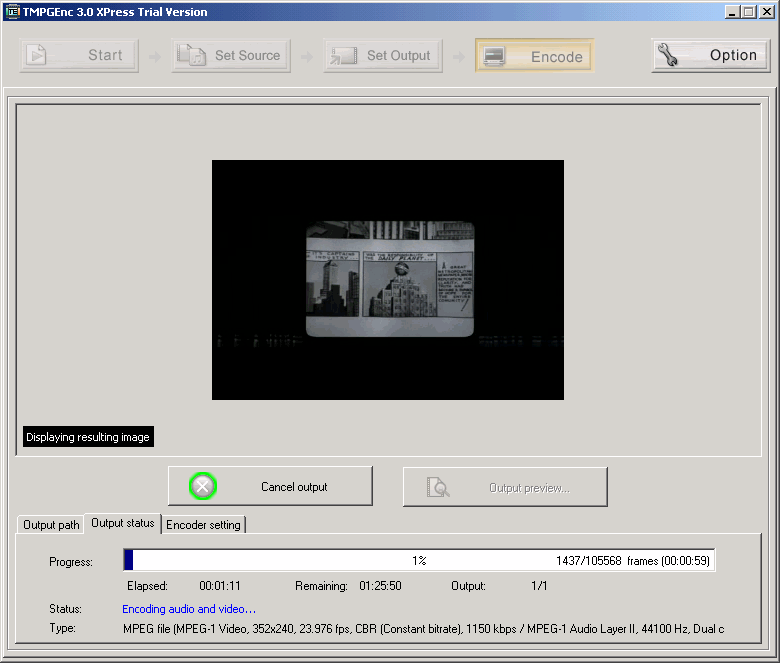
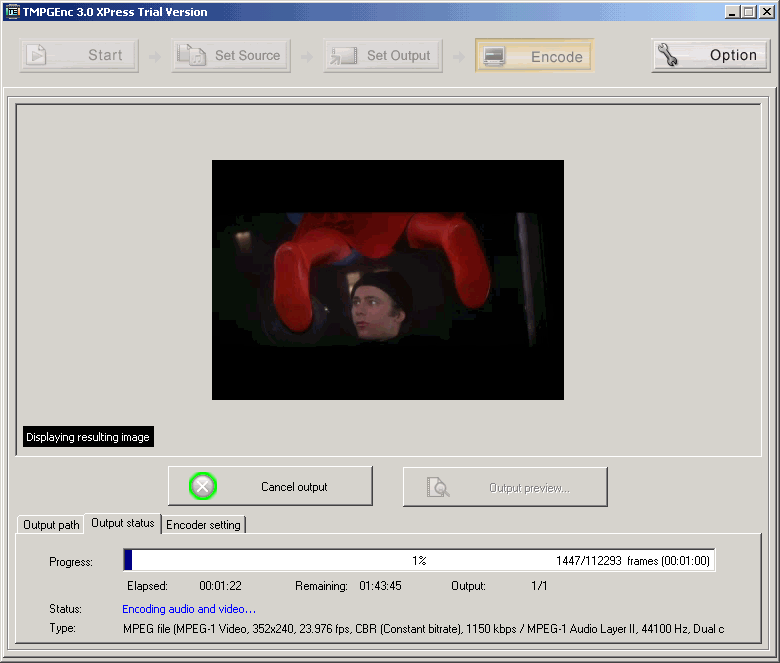
Step
5(a/b) - Now click on the "Encode" option and select the "Output path" and filename of your movie, if you used "Source range" then I suggest you use different names for each part you encode. Click on "Start Encode" to begin the encoding process.
|
|
| Step 6(a/b/c/d) - Once you are done encoding the first part of your movie, click on "Set Source" again, and then on "Edit" on your movie. Use the "Cut-edit" to select the Start and End frames for the second part of the movie. Then click on "Set Output" and select the Encoding type and finally click on "Encode" to bring processing the second part of the movie.
|
|
| Next - Authoring [Burn! Baby
Burn!] |