| Using - VCDwizard |
|
| This
program is similiar to VCDEasy and the old TSCV program, it uses a built-in variation of
VCDimager and CDRDao to create a 100% Standard VCD Image which you
can burn with any program which supports Cue/Bin files. You
get all the basic functions including Chapters. |
|
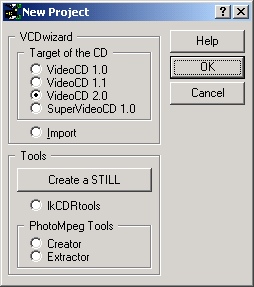
| Step 1 - Open VCDwizard, and select which type of
movie you are authoring and press the "OK" button.
|
|
|
Step
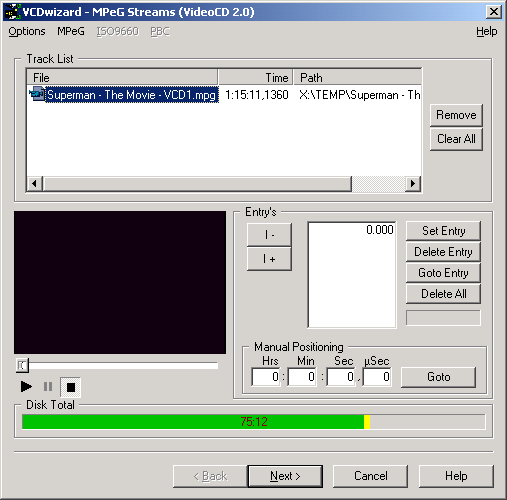
2a - Drag your MPG file into the "Track List".
|
|
|
Step
2b - Drag
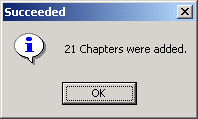
and Drop your Chapters Text File which you created earlier using
Chapter-X-Tractor, ontop of the MPEG movie file, this will popup a
message saying the amount of chapters that have been added, click on
the "OK" button to continue.
 |
|
|
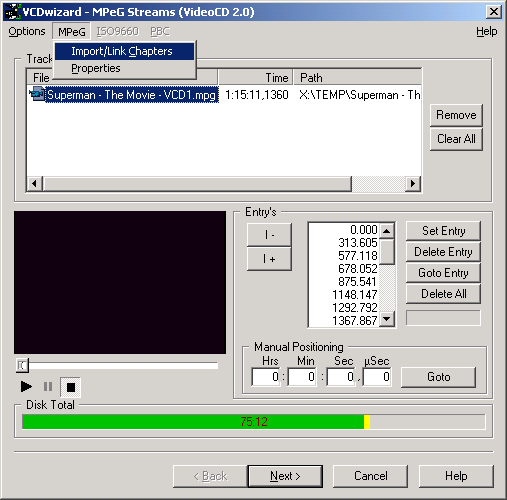
Step 2c - If Chapters were added currectly, they should be visible under the "Entry's" section and the bottom, if you are satisifed with the results, click on the "Next" button to continue.
 |
|
|
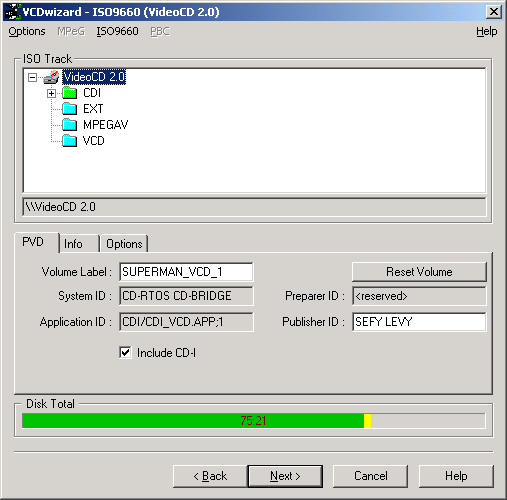
Step 3a - In the "PVD" settings you select the "Volume Label" of your movie, also select if you wish to add compatibility with a CD-I Player by selecting the "Include CD-I", and when you are done, press "Next" to continue.
|
|
|
Step
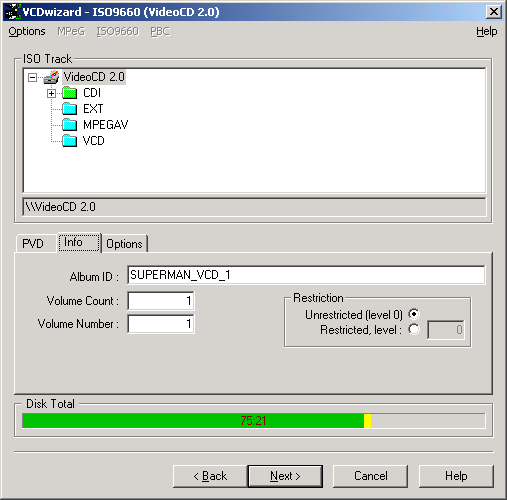
3b - In the "Info" category you can also write down the "Album
ID" if you want, press "Next" to continue.
|
|
|
Step
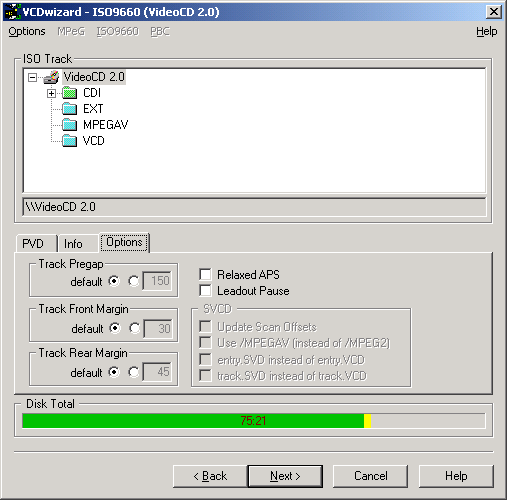
3c - In the "Options" category you can select the "Relaxed
ASP" for the Chapter Points and the "Leadout Pause". press "Next"
to continue.
|
|
|
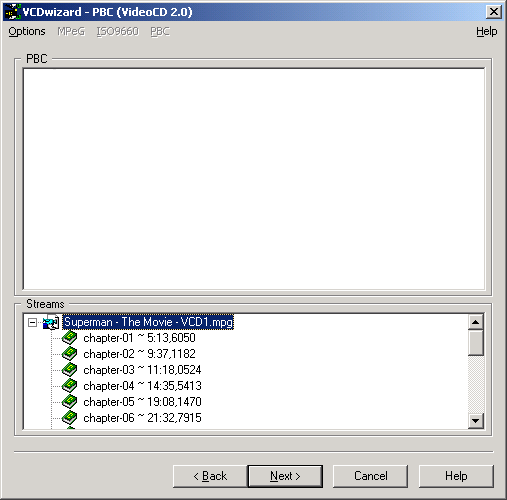
Step 4a - In the "PBC" is where we setup the
Chapters, drag the file from under the "Streams" section, and all the Chapters you made earlier into the "PBC" section.
|
|
|
Step 4b - When you drag the chapters into the "PBC" you will get a popup window as below, select "PlayList" and click on "OK"
 |
|
|
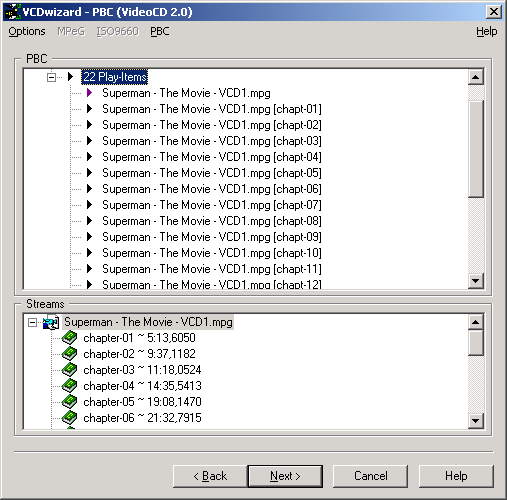
Step 4c - If all was done correctly, it should look
something like this. and press "Next" to continue.
|
|
|
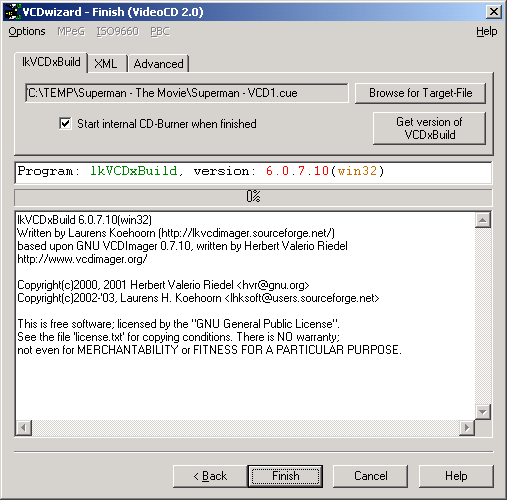
Step 5 - Use the "Browse" for the location where
you want the Cue/Bin files to be created, and press the "GO"
button when you are done, this will take awhile, so just notice the
warnning and save them incase something went wrong, you can use that
information to email the author.
|
|
| Final Step - Burning! |