|
|
|
| Updated October
3, 2004
|
Use the blue menu here below to navigate.
Sefy's Complete DVD Backup Guide v2.6
| Using
- DVD2AVI |
|
| This program basicly makes it
possible for TMPGEnc to read the VOB
files since TMPGEnc can only load one VOB file a time it does not seem
to be able to read them all at once directly, it also gives you the
ability to select which Audio Track you want the movie to have and
create the appropriate WAV file for it. (
NOTE: The MP3 Option NO LONGER exists in the new versions of DVD2AVI! ) |
|
|
Step
1 - Press "File" and "Open" (1a), Select the first
VOB
file of the movie (1b), and This will automaticly select all the
VOB's that follow (1c).
1a
) 1b ) 1b )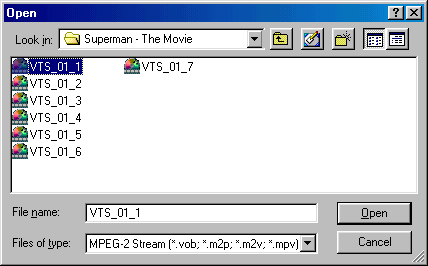
1c
)
|
|
|
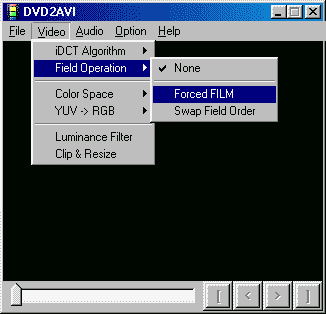
Step 1d - This is an Optional Step! - Some movies may
come in the Film format which is 23.976 fps instead of the regular NTSC
29.976, so you might want to enable the Force Film feature of DVD2AVI,
go to the "Video" menu and select "Field Operation" and
then press on the "Forced FILM" and this will create a D2V file
using 23.976 fps.
|
|
|
Steps 1e/1f - Go to the "Audio" menu and select "
Track Number" and then select which track from the Movie you
want to create as a WAV (most movies have the English Track on the
Track 1). Click again on the "Audio"
menu and select "Output Method"
and make sure you are selecting "Decode
to WAV (AC3, LPCM)" option, so it will create a usable WAV file
for TMPGEnc and not AC3 track!
1e)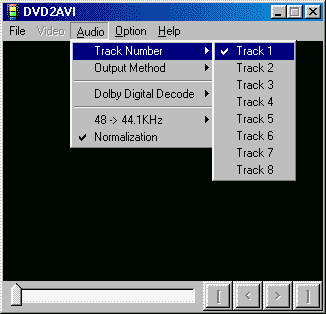 1f) 1f) 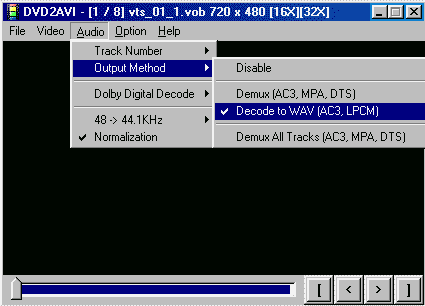
|
|
|
Steps 1g/1h - This is an Optional Step! - Press the "Audio"
menu and select the "Dolby Digital Decode" and choose if you
want to create a "Dolby Surround Downmix", some users report
better sound quality and surround with this option enabled. Also you
can
have DVD2AVI convert the 48Khz Audio Sample into a 44.1Khz, by
selecting
the "48 -> 44.1KHz" submenu,
and selecting how high quality you want the convertion to be. ( NOTE: This takes alot
more processing time and slows down the creation of files, and also
creates a lower quality WAV file, so I recommand you AVOID using this
option! )
1g)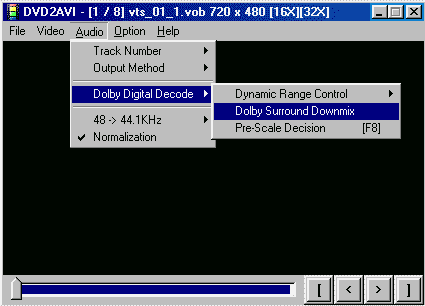
1h) 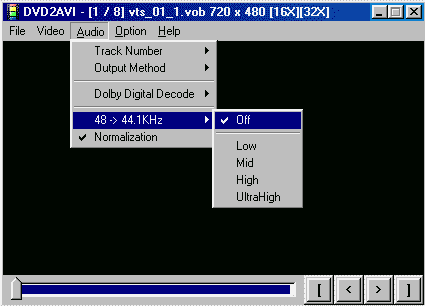
|
|
|
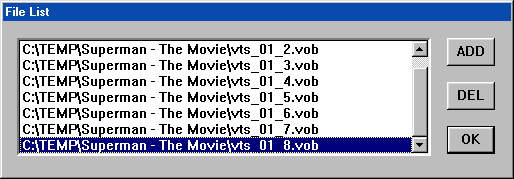
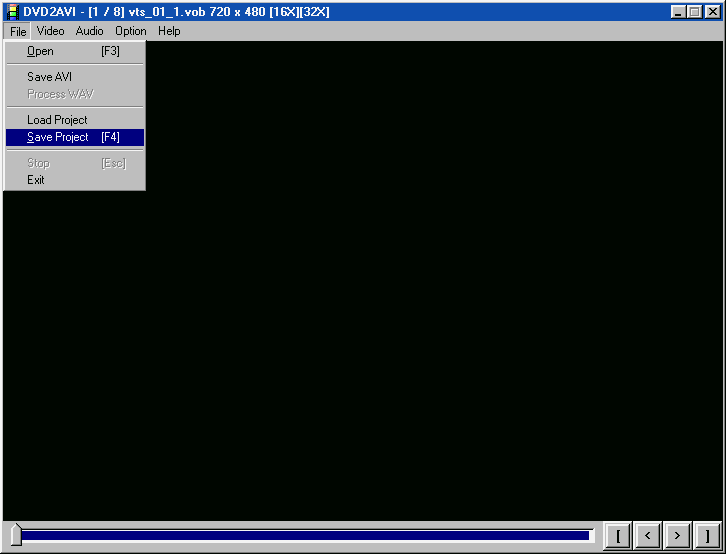
Step
2a/2b/2c - Press "File" and select "Save Project" (
2a), a popup window will appear, here you will input the
filename ( 2b) this part takes awhile, so when you see in
Status near Remain: FINISH, you are done (2c), next you will check
that all the files needed for TMPGenc are present, the VOB, D2V
& WAV (2d).
2a
)
2b
)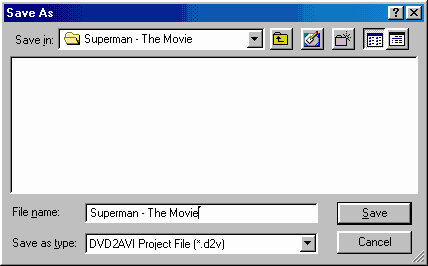 2c) 2c)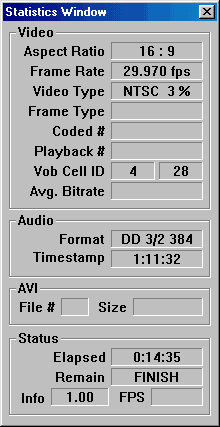
|
|
|
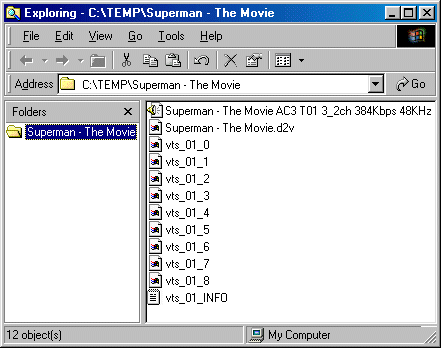
Step 2d - If you managed to follow all instructions
correctly, you should now have a WAV file and a D2V file in your VOB's
folder.
(* NOTE: Do NOT delete the VOB files! they are still required for
the encoding! *)
2d
)
|
|
| Next - VFAPI Converter or Encoding
from
FrameServed Files |
|
|
|